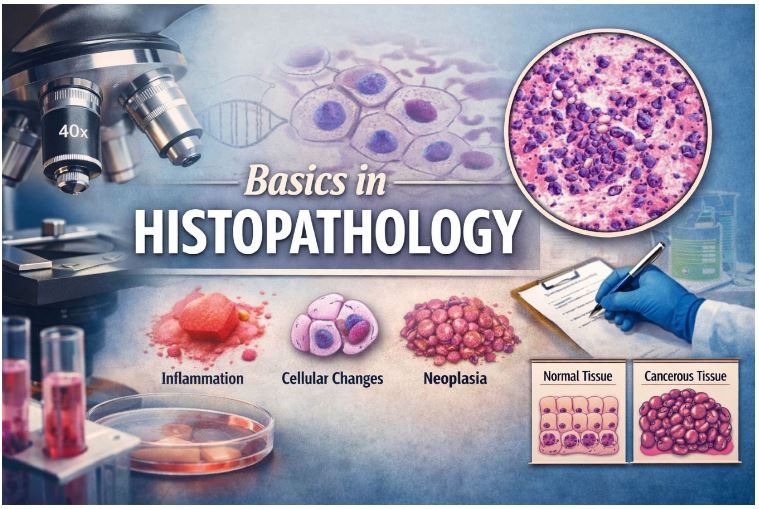
Introduction to Histopathology
“Histo” refers to tissue and pathology refers to the study of disease. So, histopathology is the branch of science that deals with the study of diseases in tissues. It is performed by the lab-based pathologist in the assistance of laboratory personnel such as laboratory technologists, laboratory technicians and laboratory assistants.
4/12/20263 min read
“Histo” refers to tissue and pathology refers to the study of disease. So, histopathology is the branch of science that deals with the study of diseases in tissues. It is performed by the lab-based pathologist in the assistance of laboratory personnel such as laboratory technologists, laboratory technicians and laboratory assistants.
Tissue or a whole organ is the associated sample in histopathology which is processed accordingly for reporting.
What is Histopathology commonly used for?
Histopathology is considered a gold standard for diagnosing cancers, infections, and inflammatory conditions. The cellular level diagnosis makes it useful to detect improvements in the treatment as well, important in recording progression in surgery, chemotherapy, etc.
Processing step by step:
Physicians and surgeons provide the tissue in the fixative for preservation.
The tissue is grossly examined.
The tissue is cut by the examiner and the target site is inserted in the cassette for processing.
The tissue inside the cassette is processed
Tissue processing via manual or automated method makes the blocks of tissue embedded in the embedding material.
Section cutting is performed by a microtome to obtain a thin tissue section.
These sections are placed in the slide and stained according to the need.
The stained section is examined under microscope.
The reporting is done according to the microscopic findings.
The tissue or organ obtained is prepared for reporting in the laboratory, which is described in the following headings:
Tissue procurement
Fixation
Dehydration
Clearing
Impregnation and Embedding
Section cutting
Staining and mounting
Reporting
1. Tissue procurement
Generally following samples are obtained in histopathology lab for the examination:
Biopsy or whole organ is obtained from the physician or surgeon or another medical practitioner.
Post-mortem bodies
2. Tissue fixation
The tissue obtained in the lab is fixed with the following objectives:
to prevent autolysis and putrefaction
to prevent changing the size and shape of cells and tissue
to aid in staining properly
to preserve tissue in its original living state as much as possible
to prevent tissue from harmful effects of chemicals used during processing
Types of fixatives:
The different types of fixatives generally used in histopathological laboratory are as follows:
Acetic acid
Ethanol
Glutaraldehyde
Methanol
Formaldehyde
Picric acid
Fixative solution: 10% neutral buffered formalin, 4% paraformaldehyde
Factors Affecting the Action of Fixative:
The factors that play an important role for the fixatives to work are as follows:
pH
Temperature
Penetration of Fixative
Time
Tissue specimen
Methods of fixation:
The major methods while fixing the tissues are mentioned below:
Immersion in fixative
Perfusion
Anticoagulant treatment such as heparin
Freezing
3. Tissue processing
It is the major process in histopathological laboratory to prepare the tissue for the reporting. The main objectives of tissue processing are as follows:
To embed the tissue in the solid medium
To give enough support to the tissue
To give sufficient rigidity for section cutting
Stages:
Dehydration
Aim: To remove fixative and water from tissues and replace them with dehydrating fluid
Dehydrants: Ethanol, Methanol, Acetone
Dehydration is generally performed in a graded ethanol series from water through 70%, 90%, 95%, and 100% to minimize tissue shrinking.
Two to three changes of absolute ethanol are introduced to the tissue before clearing stage.
Duration of dehydration depends according to thickness of tissues.
4. Clearing
Aim: To replace the dehydrating fluid with a fluid that is miscible with both dehydrating fluid and embedding medium.
Clearing agents: Xylene, toluene, Chloroform, Benzene, Petrol
5. Impregnation
Aim: To replace clearing agents inside tissue pores with supportive medium
It occurs at melting temperature of paraffin wax (54 – 60) °C.
The volume of wax should be around 25 times the volume of tissue.
Duration depends according to the type and size of tissues.
Hard tissues such as bone and skin: longer
Soft tissues such as kidney, spleen and lung: shorter
6. Embedding
Aim: To surround the tissue by a medium such as agar, gelatin or wax.
These medium solidify to provide external support during sectioning.
Embedding material: paraffin wax, gelatin, agar
Precautions:
Wax should be clear of clearing agents
Dust particles shouldn’t be present in wax.
It must be cooled immediately to harden the wax.
Processing method:
Manual processing
Machine processing
7. Cutting
Microtome is the instrument which is used to cut embedded biological specimens into thin segments mechanically.
Aim: To prepare a section of tissue for histology.
Traditional histological techniques: uses paraffin for solidification to aid in cutting
Cryostat: hardened by freezing and cut frozen into thin segments, can be used in immunohistochemistry
8. Staining
Aim: To give colour to the specimen segment.
Many stains are available according to need. Acid and basic stains are mostly used which stains according to nature of components of cells and tissues.
H & E staining:
It is performed on the fixed tissue.
Procedure:
To deparaffinize and hydrate with water
Mayer’s hematoxylin for 10-15 minutes
Wash in running rap water for 20 minutes.
Counterstaining is done by eosin from 15 seconds to 2 minutes
Dehydration in 95% alcohol and absolute alcohol until excess eosin is removed.
Then clearing is done to remove alcohol by xylene, 2 changes of 2 minutes each
Mounting in media such as DPX
Microscopic result:
Nuclei: blue
Cytoplasm: various shades of pink
References
Wheater, P. R., Burkitt, H. G., Daniels, V. G., & Young, B. (2013). Basic histopathology: A colour atlas and text (5th ed.). Elsevier.
Dey, P. (2018). Basic and advanced laboratory techniques in histopathology and cytology. Springer.
Cook, T. A., & Young, B. (Eds.). (2008). Histopathology specimens: Clinical, pathological and laboratory aspects (2nd ed.). Springer.